Working with instruments
Overview
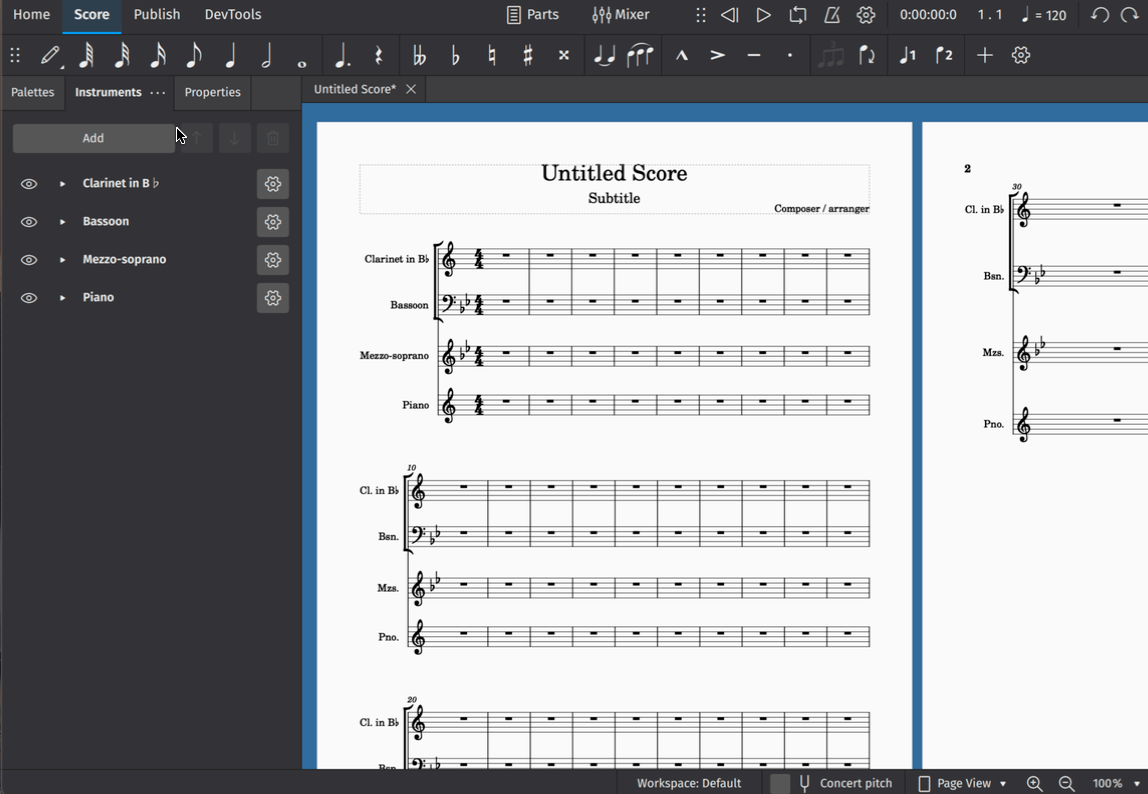
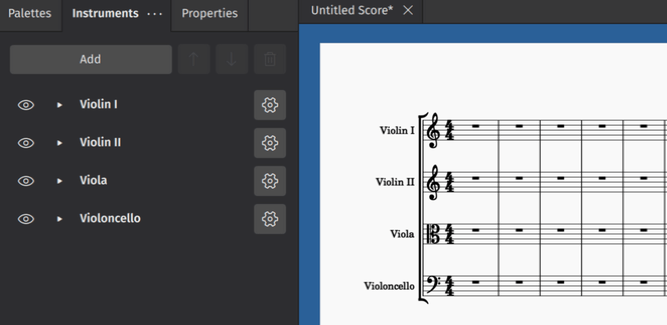
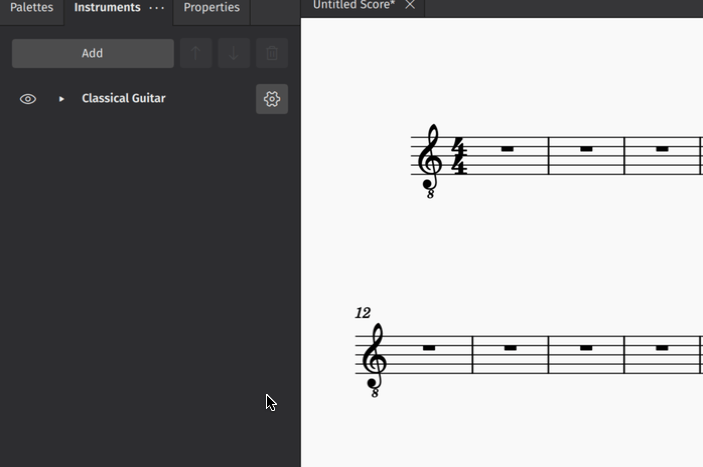
The Instruments panel is a new feature in MuseScore 4. It gives you control over your instruments and some basic staff properties without having to leave the score view. All of the instruments in your score will appear in this panel.
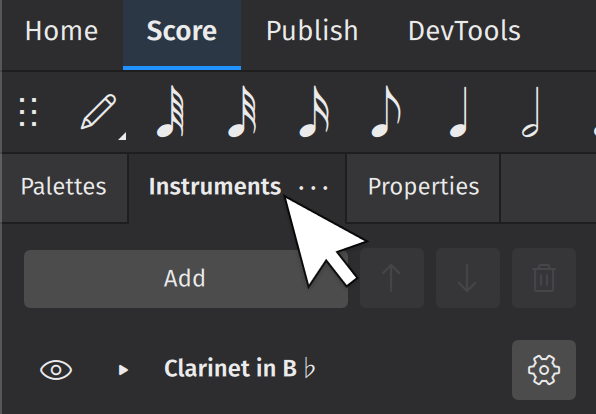
Accessing the panel
Open the panel by clicking on the Instruments tab on the left side of the screen:
Adding instruments
Click Add. This will open the Instruments dialog (see Adding and removing instruments for more information).
Deleting instruments
Select any instrument and click the trash can icon to delete it from your score.
Changing the order of instruments
Select any instrument and use the ↑ or ↓ buttons to change its position in the score. Alternatively, you can drag the instrument up/down using the mouse.
Instrument settings
Hiding/showing instruments
The visibility of entire instrument staves can be toggled by clicking the eye icon next to an instrument label.
Hidden instruments aren't ever deleted — they are simply hidden. This means they won't be printed, but you can still generate and export parts for them.
This feature might be useful if you have alternative instruments or alternative versions of a part that you'd like to toggle between (e.g. for different performers or instrumental configurations). You might also like to isolate different sections of a larger score (say, for orchestra) without actually deleting anything or generating any new project files.
Renaming instruments
Click the cog icon to expose settings for renaming your instruments. Leaving any of these fields blank will ensure that no label appears on the score or in the part for that instrument.
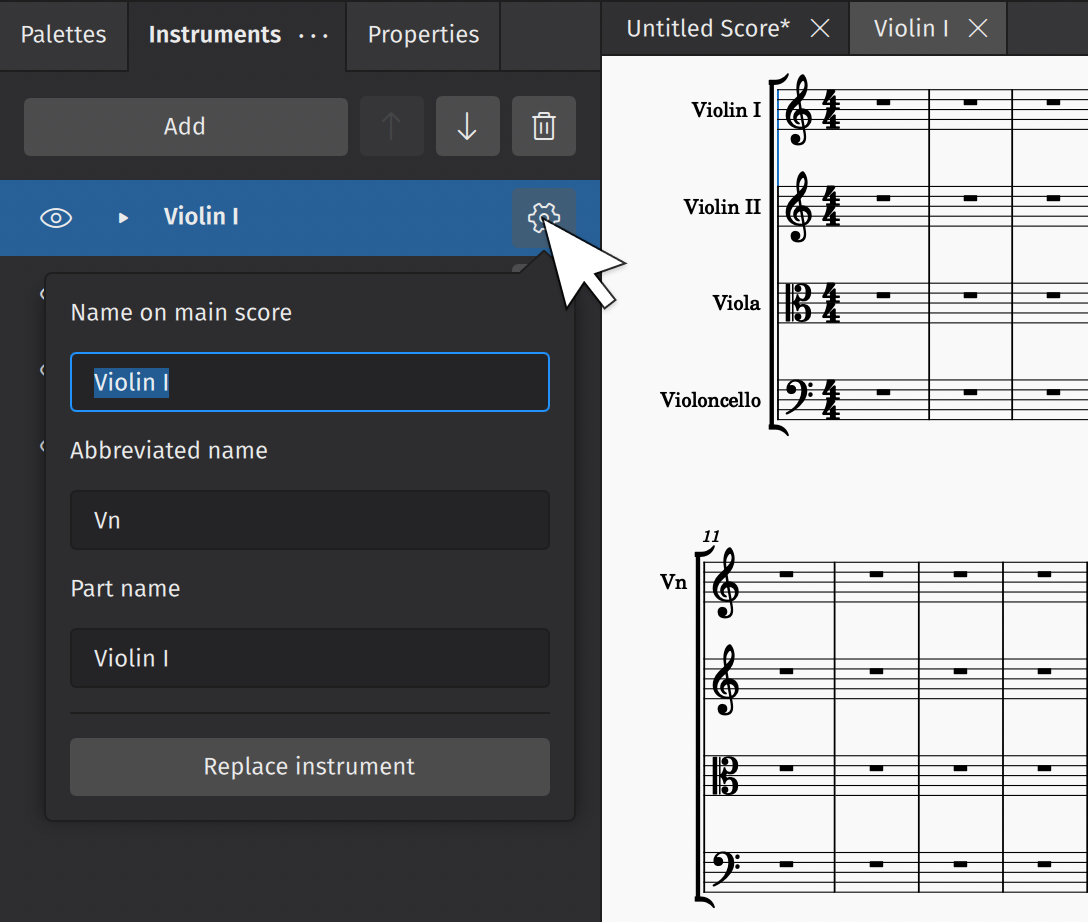
Replacing instruments
To replace an instrument in the Instruments panel:
- Click the cog icon
- In the popup that appears, click Replace instrument
- Select your desired replacement instrument in the dialog that appears
- Click OK
Adding and configuring staves
The Instruments panel can also be used to add staves to an existing instrument and configure some of their basic properties.
To add a staff to an existing instrument
- If there are no staves visible under the instrument label, click the triangular "show more" icon next to the label
- Click Add staff
- Click the cog icon of the newly-added staff, and adjust "Staff type", if required.
Added staves share the same instrument but their notation can be edited independently. Amongst other things, they can be used to create staff/tablature for stringed-instrument players (e.g. guitar, banjo, ukulele etc.).
To add a linked staff to an existing instrument
Certain notational objects on one staff can be made to automatically appear on other staves if they are linked together. Linked staves can be used to create staff/tablature for stringed-instrument players (guitar, banjo, ukulele etc.).
To create a linked staff:
- If there are no staves visible under the instrument label, click the triangular "show more" icon next to the label
- Click the cog icon next to the staff label (E.g. "Treble clef")
- Click Create a linked staff
- Click the cog icon of the newly-added staff, and adjust "Staff type", if required.
Configuring a staff
Each stave contains some independently configurable properties. By clicking on the cog icon alongside a staff label (E.g. "Treble clef"), you can:
- Change its staff type (including the clef and number of staff lines)
- Reduce the size of the staff (Small staff)
- Hide any measures that do not contain notation

Learn more about staff customization in Staff/part properties.