Arbeta med instrument
Översikt
Läsare bör redan känna till instrumentkonceptet i Musescore, och användningen av fönstret Lägg till eller ta bort Instrument som förklaras i kapitlet Förbereda ett partitur. Detta kapitel diskuterar den nya panelen Instrument i MuseScore 4 som handhar
- instrumentuppställningen i partiturfilen (en funktion som fönstret Lägg till eller ta bort instrument också erbjuder);
- systemuppställningen i partiturfilen, t.ex. att lägga till eller konfigurera ett nytt system med diskantklav;
- inställningen synlighet och uppspelning för varje instrument (och alla dess system) i det aktuella och öppna "Hela partituret" eller i "Stämma"; och
- synlighet ** för varje **system i det aktuella och öppna "Hela partituret" eller i "Stämma".
läs mer om "Hela partituret" och "Stämma" i kapitlet Stämmor.
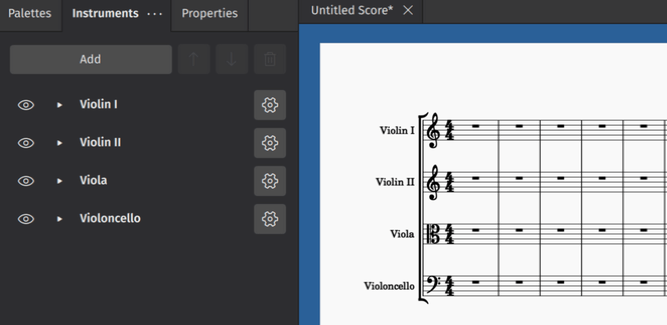
Lägga till och ordna instrument
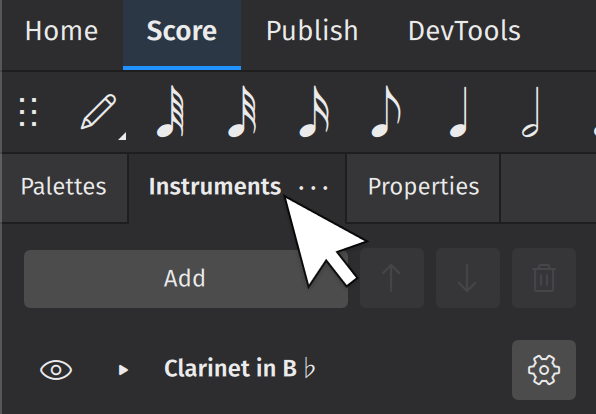
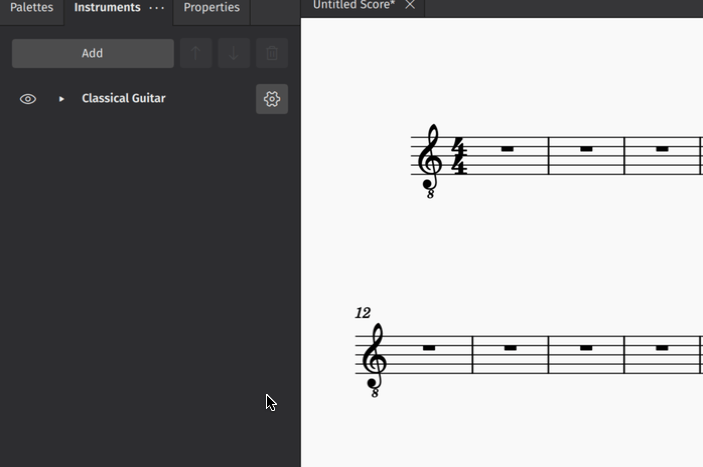
Tillgång till panelen Instrument
Öppna panelen Instrument genom att klicka på fliken Instrument till vänster på skärmen:
Lägga till instrument
Klicka på Lägg till (eller tryck bara i). Detta öppnar dialogfönstret Instrument (see Välja instrument för mer information).
Ta bort instrument
För att ta bort ett instrument från partituret markerar man instrumentet och klickar på ikonen Papperskorgen, eller trycker Delete.
Ändra instrumentordning
Välj ett instrument och använd knapparna ↑ eller ↓ för att ändra dess plats i partituret. Alternativt kan man dra instrumentet upp/ner med musen.
Instrumentinställningar
Dölja/visa instrument
För att gömma eller visa ett instrument (och alla dess system)
- Öppna "Hela partituret" eller en "Stämma", se kaptlet Stämmor.
- Klicka på ikonen Öga intill ett instrumentnamn.
Att gömma är inte att radera. Att gömma ett instrument inaktiverar uppspelning av dess system. Denna funktion är användbar i kombination med Musescores funktion Stämma, se kapitlet Stämmor. Detta medger till exempel skapandet av alternativa instrument eller andra utskrifter för olika utövare, eller isolering av sektioner i ett större partitur för orkester, utan att radera något.
Döpa om instrument
- Klicka på ikonen Kugghjul
- Ändra namnet på samma sätt som Långt instrumentnamn i System/stäm-egenskaper. Lämna tom om så önskas.
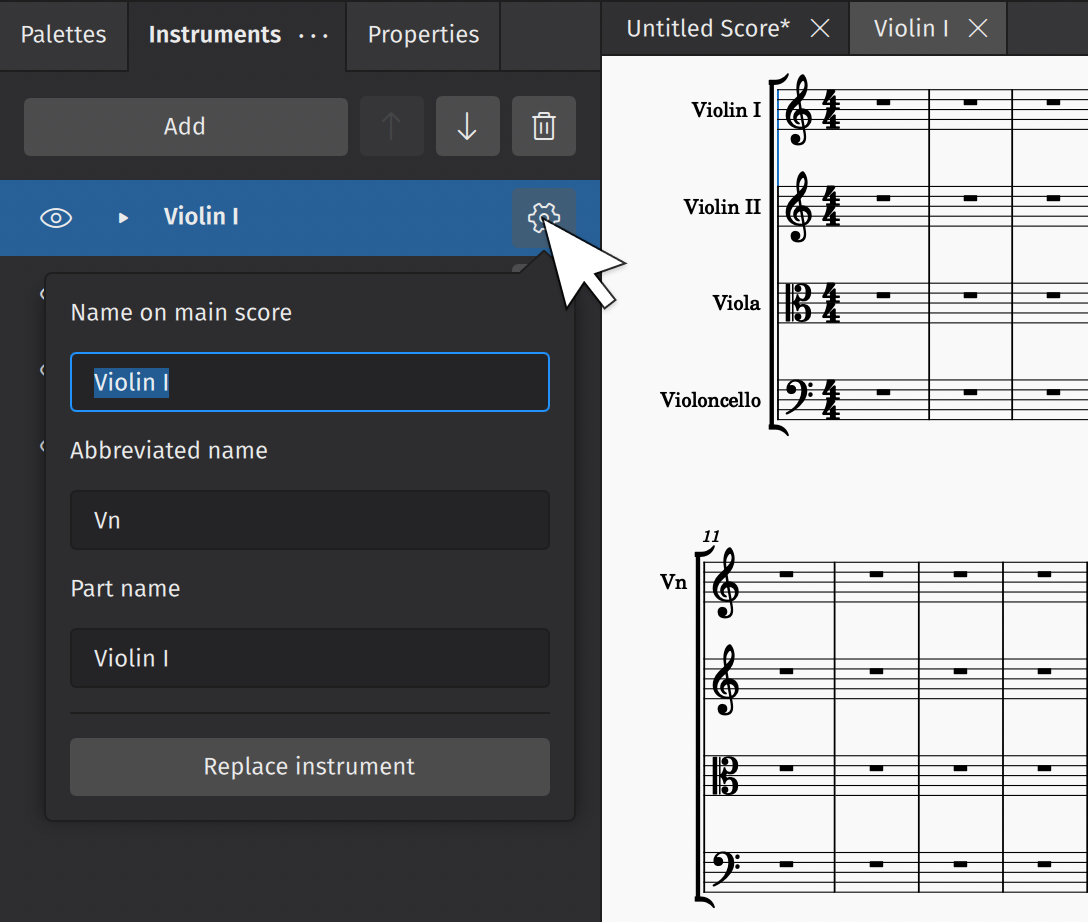
Ersätta instrument
För att ersätta ett instrument i panelen Instrument:
- Klicka på ikonen Kugghjul till höger om instrumentnamnet
- I popup som visas klickar man på Ersätt instrument
- Välj det önskade ersättningsinstrumentet i dialogfönstret som visas
- Klicka på OK
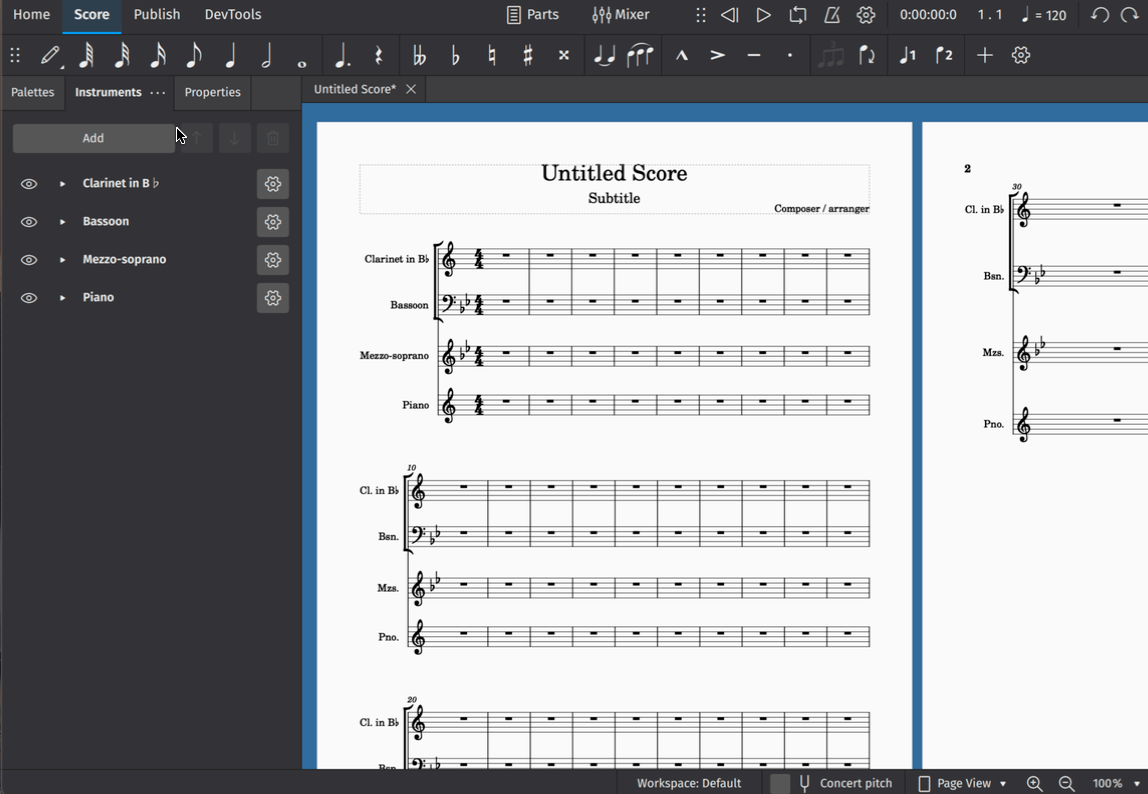
Adding and configuring staves
The Instruments panel can also be used to add staves to an existing instrument and configure some of their basic properties.
To add a staff to an existing instrument
- If there are no staves visible under the instrument label, click the small black triangle to the left of the label to reveal them
- Click Add staff
- Click the Cogwheel icon of the newly-added staff, and adjust "Staff type", if required. More on Staff type, see the Staff type template in Staff/Part properties chapter.
Added staves share the same instrument but their notation can be edited independently. Amongst other things, they can be used to create staff/tablature for stringed-instrument players (e.g. guitar, banjo, ukulele etc.).
To add a linked staff to an existing instrument
Certain notational objects on one staff can be made to automatically appear on other staves if they are linked together. Linked staves can be used to create staff/tablature for stringed-instrument players (guitar, banjo, ukulele etc.).
To create a linked staff:
- If there are no staves visible under the instrument label, click the triangular "show more" icon next to the label
- Click the Cogwheel icon next to the staff label (E.g. "Treble clef")
- Click Create a linked staff
- Click the Cogwheel icon of the newly-added staff, and adjust Staff type, if required. More on Staff type, see the Staff type template in Staff/Part properties chapter.
Configuring a staff
- Click on the Cogwheel icon next to a staff label (E.g. "Treble clef")
- Change as required:
- Staff type: See Staff type template in Staff/Part properties chapter.
- Small staff: Reduce the size of the staff. Adjust size setting in Format→Style…→Sizes.
- Hide any measures that do not contain notation: See Cutaway in Showing staves only where needed chapter.

Learn more about staff customization in Staff/part properties.
Hiding a staff but keeping its playback
- (Mandatory) Click on a staff label (E.g. "Treble clef"), but not its instrument.
- Click its Eye icon.
Hiding is not deleting.
See also "Hiding/showing instruments" section that explains how to hide an instrument, hiding an instrument disables all its staffs' playback.
Deleting instruments and staves
Note: On score that uses Musescore's Parts feature, deleting a staff deletes it in "Full score" and all "Part" that features it. See also the alternative "hide" commands in "Hiding/showing instruments" and "Hiding a staff but keeping its playback" sections.
To delete an instrument and all of its staffs:
- Click on the instrument label
- Click the Trash can icon at the top of the instruments panel, or press Delete.
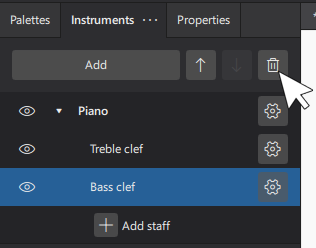
To delete a staff from an instrument:
- If there are no staves visible under the instrument label, click the small black triangle to the left of the label to reveal them
- Click on the staff label
- Click the Trash can icon at the top of the instruments panel, or press Delete.